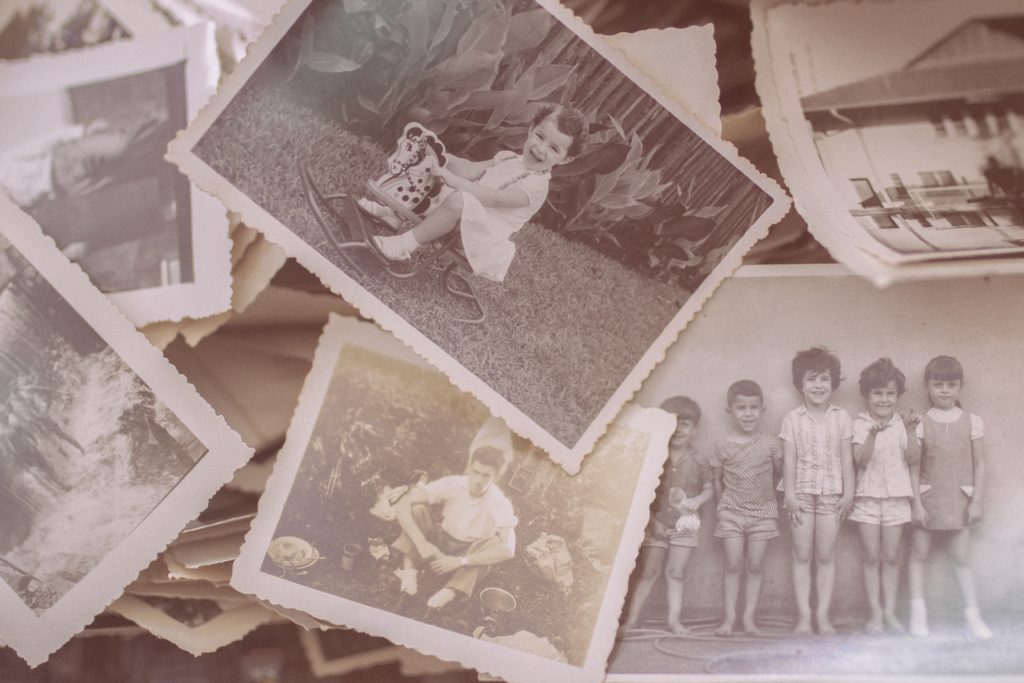
When your photos are cluttered in tucked away boxes you are missing out on valuable memories.
Maybe you’ve always been meaning to organize your photos, or maybe you came across them while downsizing your home. But sorting through massive piles of old photographs can be a daunting task, particularly if they are not organized. How do you decide which prints to keep? How do you arrange them?
As a retiree, this is a great project you can undertake to reminisce about your family across the decades. You will also be documenting and preserving those photos for your family.
This post provides you with tips on how to organize your old photos, and how to digitize them to share with friends and family on the internet.
1. Sort Photos and Negatives by Category
To start this massive project, create some categories and organize your photos and negatives into them. You might want to sort your photos by decade or date ranges. You can also choose categories such as vintage, your childhood, ages of your children or travel.
Within those categories, you will then want to organize your photos into specific years or events.
Negatives may not have much value anymore, but they are artifacts from a different time. Rather than throw them out, organize them with the rest of the photos, or maybe even make some art out of them!
You will also want to set aside photos that are a mystery so that you can look deeper into them later.
2. Does it Spark Joy? If Not, Toss It
Organizing guru Marie Kondo suggests that if an item does not spark joy, you should toss it.
As you are looking through your photos, ask yourself for each if it is worth keeping. Chances are a lot of your photos have no value to you or your family, and tossing them out will make organizing the rest a lot easier.
Some reasons you may want to toss photos include:
- Duplicates you don’t want or can’t give away
- The photo was blurry
- The photo has faded over time
- Landscapes with no people or context
- Photos where people blinked or did not look their best
3. Research Mystery Photos
If a photo was intriguing enough that you kept it aside despite not knowing who the subject is, time to do a little digging! Try bringing these photos to large family gatherings and picking some brains, or you can scan them and send them out to a large list via email.
When the mystery is solved, you can then organize them with the rest.
4. Create Some Photo Albums
Now that you have organized your photos, it will be easier to create photo albums. Albums are great to flick through to relive memories, and also protect the photos from long-term damage.
You can organize your photos however you like: by event, a year in the life, or themes such as parents, childhood or teenage years. You may even want to get creative and do some scrapbooking, adding creative visual elements and little notes to go along with all the photos.
Any photos you don’t place in albums should be labeled so your family will know what they are. While we all used to write on the back of photos, this can actually cause them to deteriorate down the line. Instead, put them inside protective sleeves and label them – or place a note inside! If you can, find some airtight containers to store these in.
5. Scan Photos to Share Online
Print photos are great to show guests, but the best way to share photos en masse is via the internet. This is a great way to share family stories and memories with distant relatives.
You can scan your photo prints into digital files with a home scanner, or you can pay a service to do them for you in bulk.
Attaching photos to an email is one way to share, but you are limited in how many you can attach. Instead, consider creating a digital photo album with a service such as Google Photos or Flickr and share the link in an email.
6. Creating Print Albums Online From Digital Files
Memories are the greatest gift of all.
You may only have one print of a photo, but once your photos are scanned you can create physical photo albums online from any of your favorite photos! These photo albums are printed to look like professionally published books and make fantastic gifts for friends and family members.
There is no shortage of online photo album creation companies who will ship your order to you. Try looking for a local service to save on shipping.
Usually, you will design the album through the internet, though some modern photography shops let you create them on an in-store kiosk. You upload your photo files and then choose the layout. Often you will have lots of creative options as well for backgrounds or additional text. You can also choose different album dimensions, cover material, and paper quality.
Once you’ve designed your album, you can print just one, or as many as you desire to give away!

